

I’ve always been inspired by beautiful spaces and homes and wanted the same thing, but couldn’t figure out what exactly it was that I needed to do. Did I need better furniture? Maybe I need a specific size/type of room/home? Did I need to just display antiques/quirky/random objects? Although these things could make a big difference (and sometimes can be very costly) I realized it all started with the wall trim.
As a renter myself, it can be limiting in terms of what we can do and what we can change, so I found a company on Etsy that specializes in wall trim that can be easily installed and removed. You can also bring along your trim to your next home so it’s not a one-time-use product*. Below check out the step-by-step process I followed from planning, buying, installing, and painting to help you elevate your home with wall trims.

The Process
Once you’ve figured out what room you want your wall trim on, you need to figure out how many walls you want the trim on as well as the style of trim. My room is an open space with two full walls about the same size at 94” high and 138.5” in length. My wall height isn’t very high so I learned that trims that are more vertical-based will help make the room feel higher than it is. For rooms with a high ceiling but smaller in size, a wider trim can help make the room feel wider. Below are a few styles I’m a fan of because they’re classic and they can fit into almost any room.
2. Take a photo of the walls, measure the size of each wall, and most importantly, measure the distances of any outlets, light switch plates, bottom trim, vents, etc. that are on the wall that could potentially get in the way of your trim. As you can see from my photo, I measured the distance from the edge of the wall and the bottom trim to each outlet as well as the distance from outlet to outlet.
3. There are a ton of suppliers out there and types of wall trim but the one I went with is Birdeco based out of Turkey on Etsy. They sell standard-sized trims that you can pick up and just install or you can reach out to them, send them your photos with the dimensions, tell them the style of trim you want and they will create a custom blueprint of the trim based on your wall.
4. Once you’ve received your trims, lay them out in order on the floor. I’m sure there are more efficient ways of installing, but this is how I went about installing them. First, I used blue painter’s tape to create a horizontal line across the top of the wall- this helped me keep all my trims straight and on the same level. Next, I followed the measurements Birdeco gave me and temporarily placed all the trims on the wall with the painter’s tape to see how the trim would look on the wall.
5. Each piece of trim has an adhesive on the back and I was advised by the supplier that it was not necessary to use a nail gun and caulk. Though a nail gun would secure the trim to the wall and the caulk would cover up the gaps creating a cleaner look, I stuck with the adhesive only. I started with the top horizontal piece and used a leveler to keep the trim straight (in addition to using the tape as a guideline). From there I worked my way down with the rest of the trims.
6. Our walls are a bit off-white and the white trim didn’t stand out too much. It wasn’t necessary to paint the trim, but I decided to anyway. Our rental came with the paint they used for the walls so I didn’t have to go out and get any. The trim is made of primed polystyrene and the paint didn’t stick well so I did about 2-3 coats per trim. I also used the paint to fill in gaps between the trims and though it’s not “perfect” or beautiful, it closed many gaps which overall improved the look.
The process was pretty straightforward [and tedious] but very doable? I don’t think the process is really “DIY” because I didn’t buy trim, cut it up, and install it, but it still required some level of work.


*What I marked up and sent to supplier


*Blueprints Birdeco sent over

*Taped trim prior to install

*Installed prior to paint
Cost
There are much cheaper ways to add wall trim but from many hours of research, it comes down to this: the cheaper the project is, the more work you’ll need to put in; buy trim, measure and cut, buy tools (if you don’t have it), time, and there is a bigger risk of error if you’re not experienced like me. “Pre-made” trims already come sized and cut and only require installation. Some trims even come already put together in designated shapes and all you’ll need to do is install it on the wall and you’re done. My set of 10 shapes on two walls came out to $405. Again, Birdeco as well as other brands already have pre-made shapes that you can simply pick up for less but I opted to get a custom shape catered to my walls.
*the wall was featured on De'Longhi's Instagram!
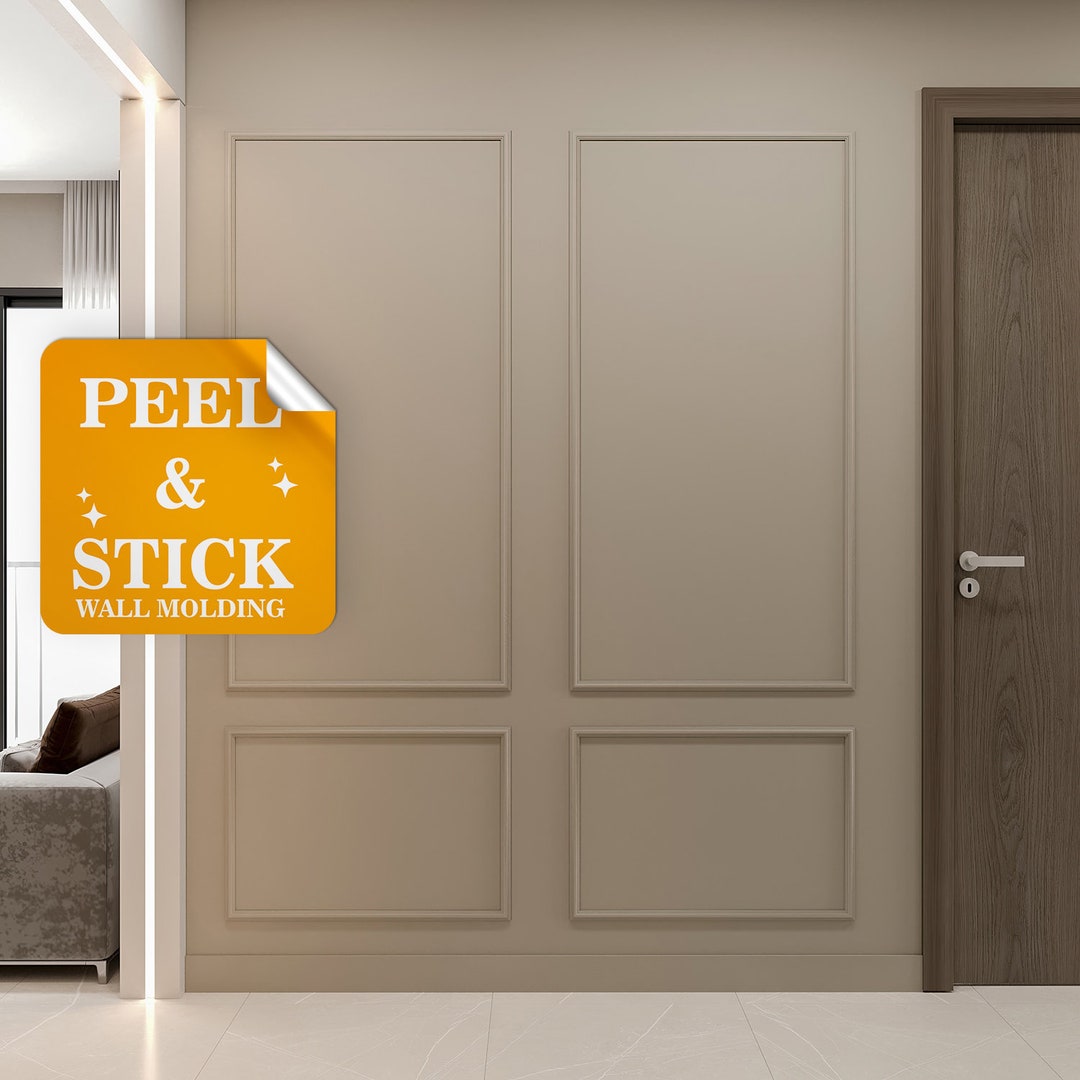
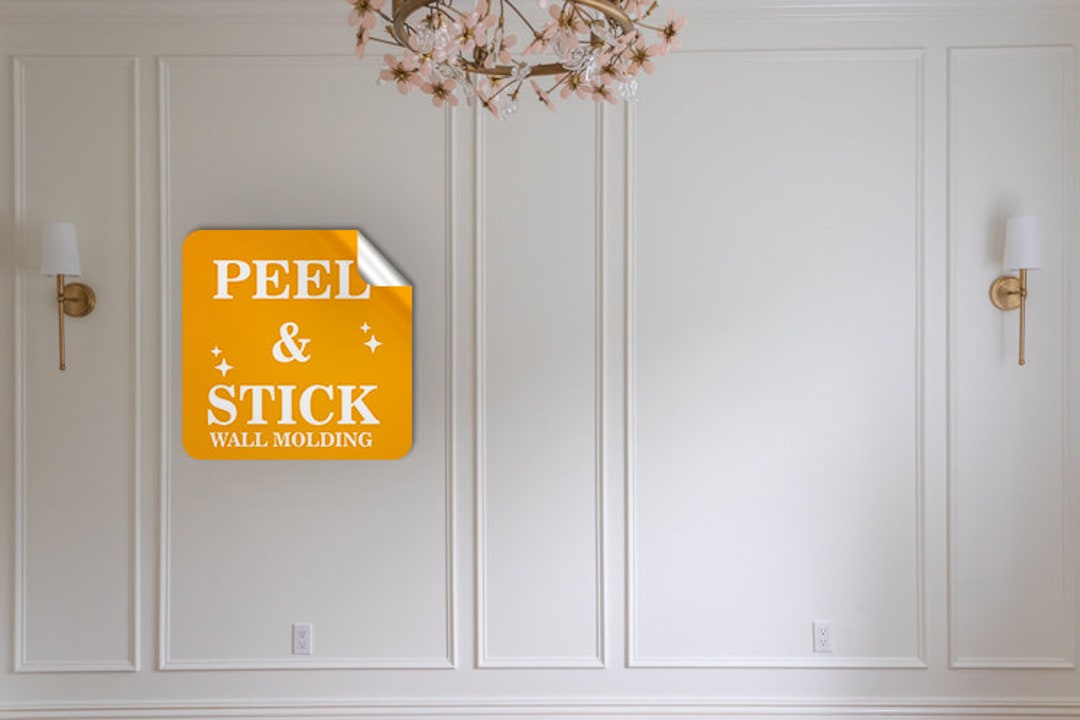
Renter Friendly Wall Trim Options*
These comes ready to go and you just need to install.
Gaahing Peel and Stick Wall Molding Trim - $25.00
Luxe Architectural Removable & Reusable Wall Moulding Kit - $109.99
Birdeco Peel & Stick Wall Molding - $110.04
Birdeco Peel & Stick Wall Molding - $155.00
Overall, it was a fun project. The trim elevated the room and with the help of some furniture and other pieces, really brought the room to life. If you're looking for a new project or want to change up your space for better, I'd highly reccommend starting with wall trims. Hopefully this will give you a better idea of where to start and please don't hesitate to reach out on email, Instagram, etc. if you have any questions!
*If you get a standard-size wall trim, it should be able to be used on most standard-sized rooms/walls.
*Prices are based on 10/16/23
*The Amazon links are affiliate-paid links. As an Amazon Associate, I earn from qualifying purchases